One day I was thinking it would be fun for my kids to be able to track what states they’ve been to, and also have a reference to where all the states are located in the United States. For homeschool we’ve printed maps of the US and also have a coloring book with facts about each state, but I wanted something they could hang in their rooms that was more than a piece of paper or poster. I didn’t see many options I liked so I thought I’d try and make my own.
I enlisted my computer guy (aka, my husband) to make me a digital image of the United States. He made one blank and one with the state names. I then ordered a DIY sun screen printing kit from EZscreenprint. It took a little trial and error, but be were able to make two good useable screens.

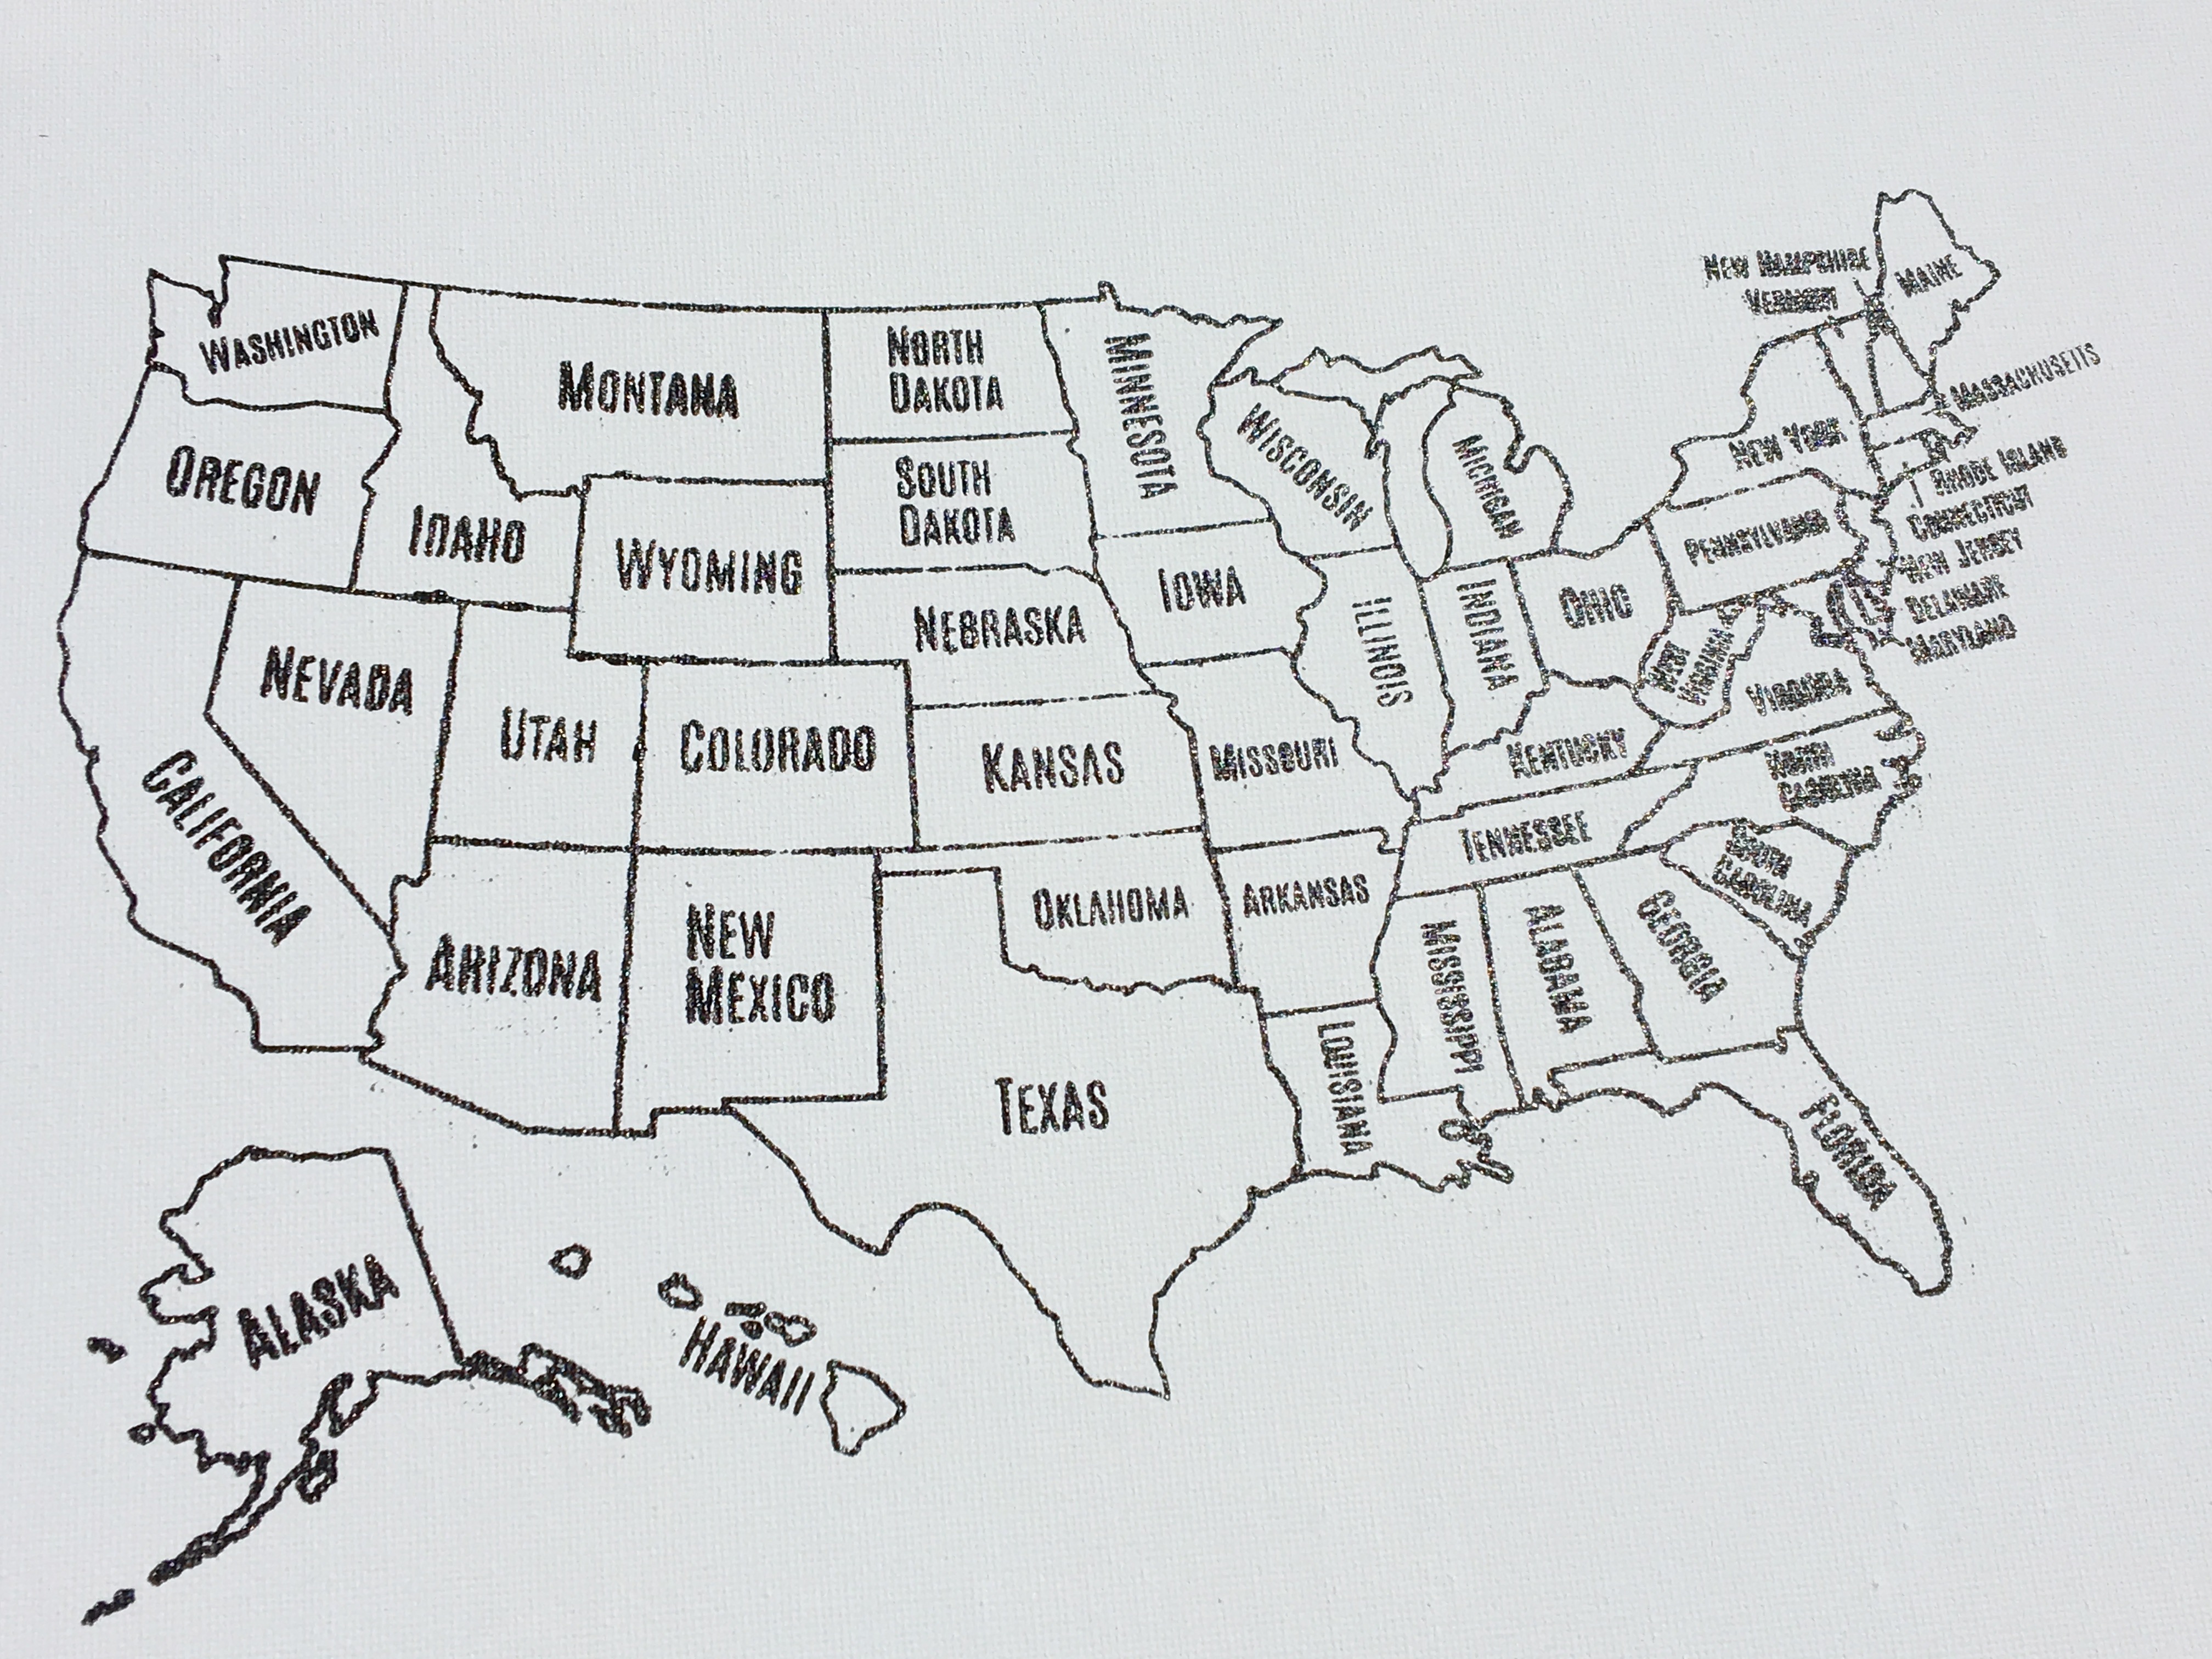
You can see in the pictures that screen printing is not perfect. Some lines came out darker, some lighter, making each print a little different. It is also definitely trickier with the text, especially the smaller states. But, I think it gives a nice hand made look instead of a perfect manufactured look. The screens are standard paper size (I wanted to be able to use our printer at home) and then I screen printed on 11×14 inch canvases.

These turned out pretty much how I wanted and each of my kids has one to keep on their wall. So far they’ve colored in the states they’ve visited and decorated around the map with things like a compass, waves, and their own name for their map. I also made one for myself to color and used the screen to make a pillow for our camper. We’re also coloring in the states on the pillow as we visit them.

I colored the states using both fabric markers and Crayola markers and I think they both worked good.

Screen printing isn’t the cheapest DIY project, or cleanest, but it was fun to be able to make screens using the sun. If you don’t want to make your own, I have both styles available at my Etsy shop, Little Urbanite.